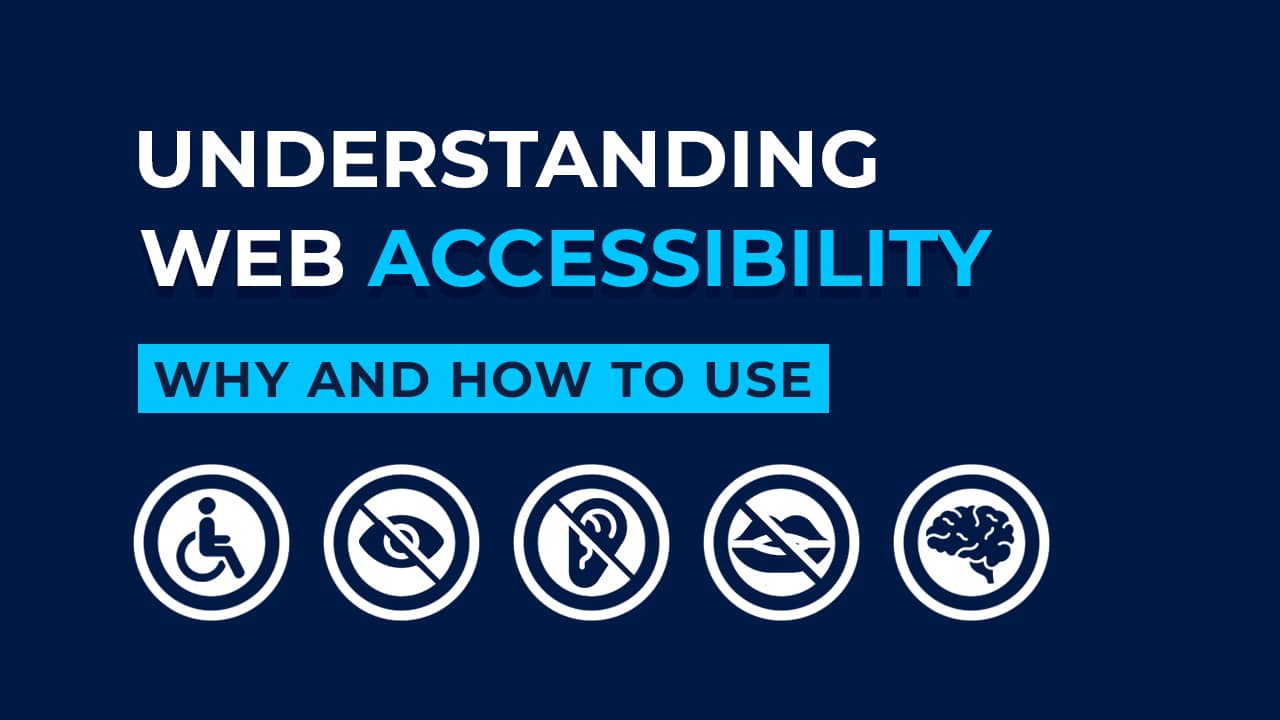
In an increasingly digital world, web accessibility has become a critical consideration for website owners and developers. It’s not just about making websites look good; it’s about ensuring that everyone, regardless of their abilities or disabilities, can access and use the content effectively. In this article, we’ll explore what web accessibility is and how to apply it to a WordPress site.
Table of Contents
Understanding Accessibility:
Accessibility, often abbreviated as “a11y” (where “11” represents the 11 letters between ‘a’ and ‘y’), refers to the practice of designing and developing websites and digital content in a way that accommodates people with disabilities. This includes those with visual, auditory, motor, cognitive, or other impairments.
Why is Accessibility Important?
- Inclusivity: Accessible websites are inclusive and ensure that everyone can participate in the digital world.
- Legal Requirements: Many countries have laws requiring websites to be accessible to people with disabilities.
- Better User Experience: Accessibility improvements often lead to a better user experience for all visitors, including those without disabilities.
Applying Accessibility to a WordPress Site:
- Choose an Accessible Theme: Begin with an accessible theme. Many WordPress themes are designed with accessibility in mind, so research and select one that aligns with your site’s goals.
- Use Alt Text for Images: Provide alternative text for images to describe their content for screen readers.
- Semantic HTML: WordPress generates semantic HTML by default, but ensure that any customizations maintain proper structure and readability.
- Keyboard Navigation: Ensure that all interactive elements, like buttons and forms, can be navigated and used with a keyboard.
- Color Contrast: Maintain sufficient color contrast for text and background to make content readable for all users.
- Headings and Lists: Organize content with proper headings and lists to enhance screen reader compatibility and content structure.
- Testing: Regularly test your site using accessibility tools and screen readers to identify and address any issues.
By integrating accessibility principles into your WordPress site’s design and content, you can contribute to a more inclusive online space, welcoming all visitors, regardless of their abilities. In conclusion, accessibility is not just a legal obligation; it’s a moral imperative to create a web that serves everyone.
How to Fix Accessibility Issues in Current WordPress site?
Fixing accessibility issues in your current WordPress site is an important step toward making it more inclusive and compliant with web accessibility standards. Here’s a step-by-step guide on how to address accessibility issues:
- Conduct an Accessibility Audit:
Start by using accessibility auditing tools and resources like WAVE, Axe, or the built-in accessibility checker in WordPress. These tools will scan your site and identify specific issues that need attention. - Prioritize Issues:
Once you have a list of accessibility issues, prioritize them based on their impact and severity. Focus on critical issues that affect the user experience the most. - Update Your Theme and Plugins:
Ensure that your WordPress theme and plugins are up to date. Developers often release updates that include accessibility improvements. If your current theme or plugins are not accessible, consider switching to more accessible alternatives. - Alternative Text for Images:
Add descriptive alternative text (alt text) to all images on your site. Alt text should convey the meaning and purpose of the image to users who rely on screen readers. - Semantic HTML:
Review your site’s HTML structure to ensure it uses semantic HTML elements like headings, lists, and labels correctly. Avoid using divs and spans for critical content. - Keyboard Navigation:
Test your site’s keyboard navigation. Ensure that all interactive elements, such as buttons, links, and forms, are accessible and can be operated using the keyboard alone. - Color Contrast:
Check the color contrast between text and background elements to ensure readability. Make necessary adjustments to meet accessibility standards. - Form Accessibility:
Optimize forms by adding labels to form fields, providing clear instructions, and using error messages that assist users in completing forms successfully. - Video and Audio Content:
Provide captions and transcripts for video and audio content. This helps users with hearing impairments access your multimedia content. - User Testing:
Conduct usability testing with individuals who have disabilities or use assistive technologies. Their feedback can be invaluable for identifying and addressing accessibility issues. - Regular Maintenance:
Web accessibility is an ongoing process. Regularly test your site for new content and changes to ensure that accessibility remains a priority. - Educate Your Team:
Train your content creators, developers, and designers about web accessibility best practices. Encourage a culture of accessibility in your organization. - Compliance with WCAG:
Ensure that your site complies with the Web Content Accessibility Guidelines (WCAG) 2.1 or the latest version. Aim for at least Level AA compliance.
By following these steps and continuously monitoring and improving your site’s accessibility, you can provide a better online experience for all users and demonstrate a commitment to inclusivity.
Best WordPress Accessibility Plugins 2023
Here are some popular WordPress accessibility plugins that are widely used. However, please note that the availability and popularity of plugins can change over time. For the most up-to-date information in 2023 you can check on https://wordpress.org/plugins/search/Accessibility/
- WP Accessibility: This plugin aimed to fix common accessibility issues in your WordPress site. It provided features like adding skip links, removing title attributes from images, and improving keyboard navigation.
- One Click Accessibility: With this plugin, you could add various accessibility features, such as skip links, font size controls, and color contrast options, to your site. It aimed to make your website more user-friendly for people with disabilities.
- UserWay Accessibility Widget: This widget allowed users to customize the appearance and functionality of your website to suit their accessibility needs, offering options like text resizing and color contrast adjustments.


2 Responses
Very nice article!
Helped a lot 👍
Thank you 🙂